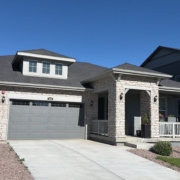
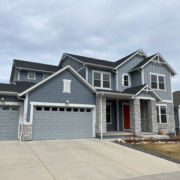
Most listing agents I talk to in the Denver metro avoid recommending pre-listing inspections. The reason is almost always the same: they don’t want their seller to have to disclose more stuff. I get it. On the surface, less disclosure feels safer. But after nine years inspecting homes across Castle Rock, Douglas County, and the south metro, I’m convinced that thinking is backwards — and it’s quietly costing your sellers money and increasing your own liability.
Here’s the honest case for pre-listing inspections, and why the listing agents who recommend them are positioning their sellers better than the ones who don’t.
The disclosure fear, and why it’s backwards
The logic goes like this: if my seller doesn’t know about a problem, they can’t be required to disclose it. Stay ignorant, list the house, hope the buyer’s inspector misses it or that the issue isn’t a dealbreaker.
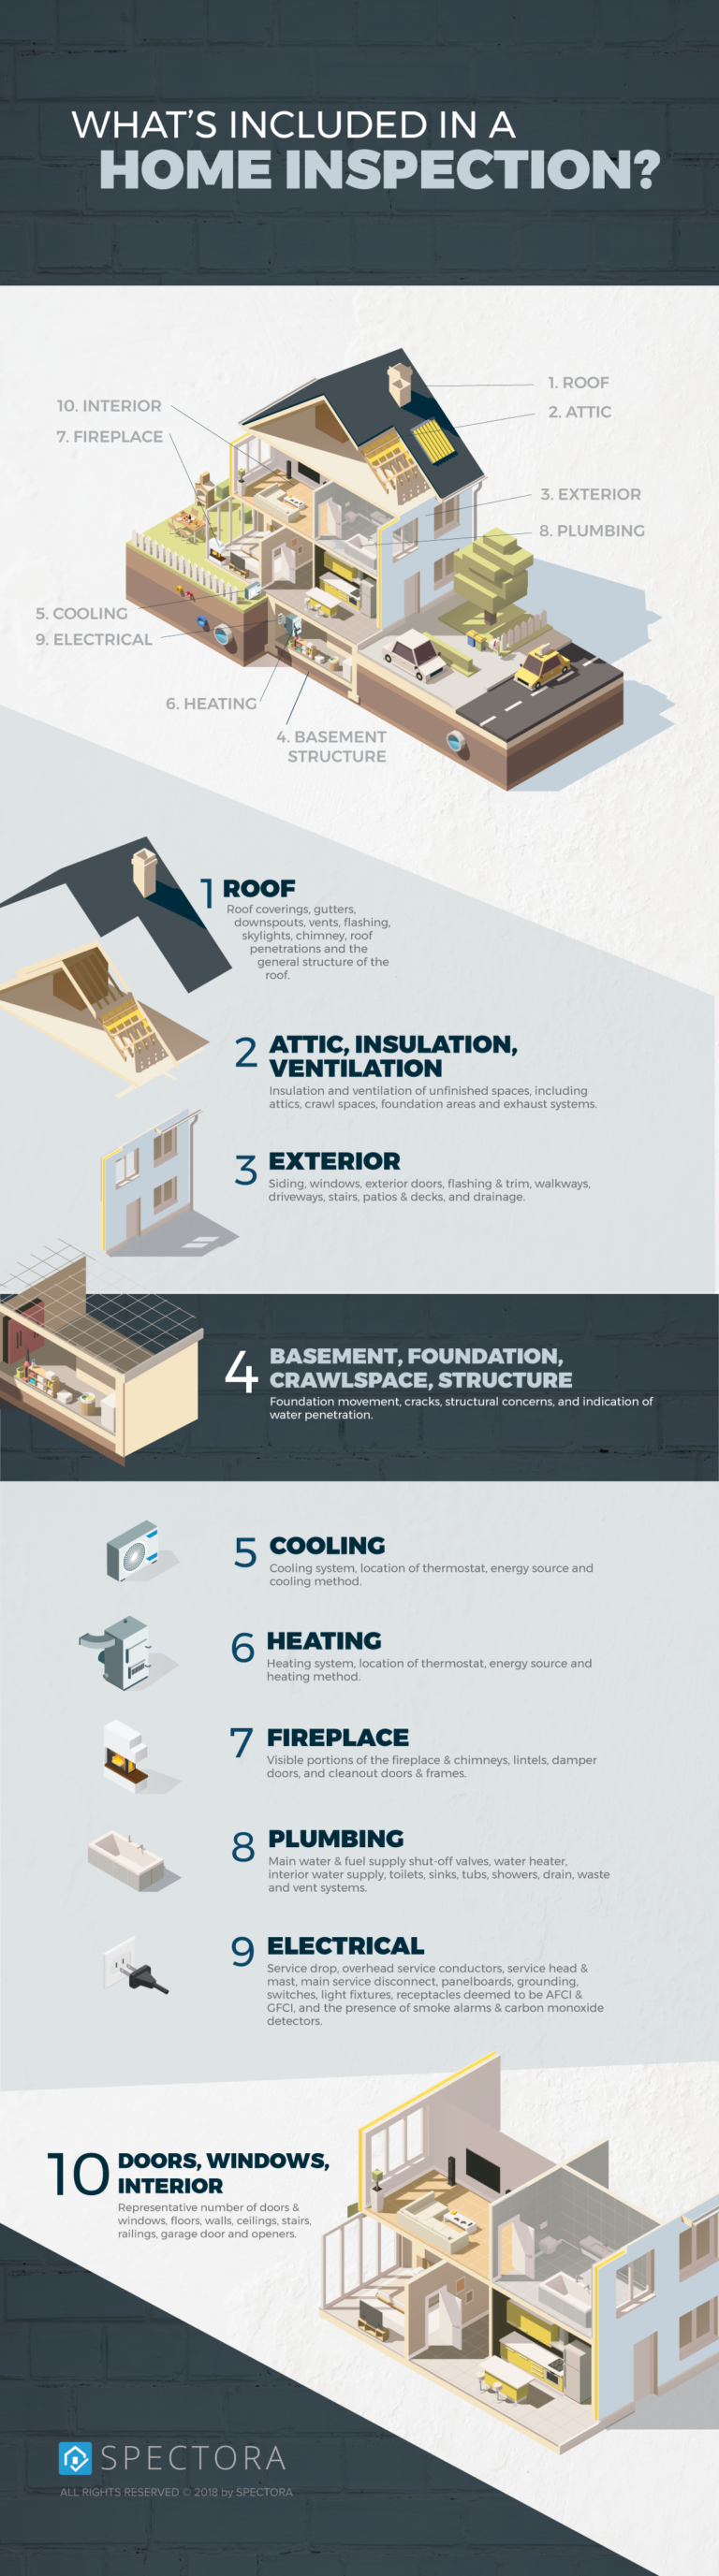
The problem with that logic is the buyer is going to bring in an inspector anyway. According to a Porch study of nearly 1,000 homebuyers, 86% of home inspections find something that needs to be fixed. In my experience inspecting homes across the Denver metro, that number holds. Pretty much every inspection turns something up — sometimes minor, sometimes significant. So the question isn’t whether the problem gets discovered. It’s when, and on whose timeline.
You can either find out at listing time, when you have leverage and options, or at the 11th hour with showings done, an accepted offer on the table, and a buyer with a clear path to walk away. That’s not a hypothetical — NAR’s Realtors Confidence Index data consistently shows that roughly 5-7% of all contracts terminate in any given three-month window, and inspection issues are routinely cited as a leading cause, accounting for 25-29% of those terminations. Of the deals that survive, Porch data shows buyers negotiate an average of $14,000 off the original asking price when they have leverage from inspection findings.
A $14,000 price reduction — or a dead deal two months into the listing — both cost way more than a pre-listing inspection.
What it actually does for the seller
When a seller does a pre-listing inspection, they get a third-party report on the condition of their home before a buyer is involved. That changes the entire dynamic of the sale.
Say the inspection turns up 25 items. Some are routine maintenance — clean the gutters, touch up some paint, replace worn weatherstripping, recaulk the tub, swap out a burned-out bulb in the basement. Twenty-minute jobs. Some are real. The seller can:
- Fix the major items on their own timeline, with contractors they choose, at prices they negotiate (not at the panicked pace of an inspection objection period)
- Knock out the small stuff in an afternoon
- Price the home accounting for anything they’re not fixing
- Hand the report and the receipts to the next buyer
Now imagine the listing. The report sits on the kitchen counter at every showing. Ten items on it are already marked fixed with proof. The seller looks serious, transparent, and like a careful owner. The buyer’s agent walks out and tells their client this seller is squared away.
I’ve seen buyers occasionally waive their own inspection when a recent third-party report is sitting right there. It’s not required, and it’s not common, but it happens. And even when the buyer does their own inspection, they walk in knowing what to expect. The surprises that kill deals aren’t there anymore.
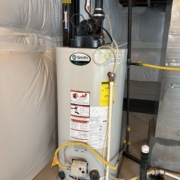
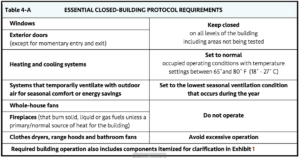
Radon is a special case worth flagging
Radon testing deserves its own mention here because it gets messy in real time. The test requires 48 hours of closed-house conditions to be valid — windows shut, doors only used for normal entry/exit. When buyers do the test during a tight inspection period, those conditions get violated all the time. A neighbor leaves a door open. The HVAC isn’t set right. Family members ignore the closed-house protocol. Then the result is suspect, the buyer panics, and it becomes a renegotiation point.
When the seller does the test pre-listing, none of that happens. The test is run under controlled conditions, the result is documented, and — this part matters in Colorado — the seller is required to disclose the result anyway under SB 23-206, which took effect in August 2023. The law requires sellers to provide buyers with any known radon test results, mitigation history, and information about any installed radon mitigation system.
So the question isn’t whether the radon result gets disclosed. It’s whether it gets disclosed cleanly upfront or chaotically during the inspection objection period. If a pre-listing test comes back high, the seller can mitigate before the home is even listed — and a documented mitigation system is often a positive selling point, not a negative.
What it does for you as the listing agent
Listing agents who recommend pre-listing inspections are reducing their own liability, not increasing it.
When a buyer falls out of contract two months in because the inspector found a $25,000 issue, your seller wasn’t the only one who didn’t know. You didn’t know either. The seller can — and sometimes does — come back at you and ask why you didn’t recommend they get ahead of it. Especially in a high-income market like Castle Rock, Highlands Ranch, or Lone Tree, where spending $650 to $1,200 on a pre-listing inspection is a non-issue for most sellers, the absence of that recommendation looks worse in hindsight than the presence of disclosed issues looks at listing time.
Agents who actively recommend pre-listing inspections also get a cleaner pipeline. Fewer renegotiations. Fewer extension requests. Fewer dead deals that have to go back on the market with the stink of a failed inspection attached.
Nobody truly trusts the seller’s property disclosure document. Buyers and their agents assume sellers either don’t know what’s wrong with their house or aren’t being fully forthcoming. A third-party inspection report cuts through that completely. It’s the difference between “the seller says the roof is fine” and “here’s the report from the certified inspector who looked at it last month.”
Use the inspection as a marketing tool
The pre-listing report doesn’t have to sit quietly in a file. Sellers can put a “Pre-Inspected” sign in the front yard, mention it in the listing description, hand the report out at open houses, or include a link to it in the listing packet. Most buyers in this market have done at least one inspection and know what the process feels like. Seeing that a seller has been through it already and is showing the results signals a level of preparation that almost no other listing offers.
That’s the strategic value. The inspection isn’t a defensive move — it’s an offensive one. The seller goes to market with information, documentation, and a story. Other listings go to market hoping.
When pre-listing makes sense, and when it doesn’t
Most resale homes in the Denver metro benefit from a pre-listing inspection. Situations where it’s an especially clear fit:
- Older homes — anything pre-1990, especially if the seller’s been there a long time
- Homes with deferred maintenance the seller knows about but hasn’t addressed
- Unique properties where comparable sales don’t tell the full story
- Sellers planning a quick close who can’t afford a deal blowup
- FSBO-curious sellers who want to control the narrative
The main situation where it probably isn’t worth the cost is when the property is being sold for lot value or redevelopment — the buyer is going to tear it down anyway, so condition doesn’t drive the deal.
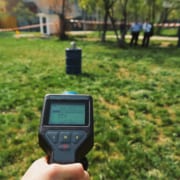
Sellers usually have no real idea what’s going on with their house — not because they’re hiding anything, but because nobody walks the roof, opens the panel, or scopes the sewer line on a routine Saturday.
The competitive advantage nobody’s using
Here’s the part most listing agents miss. Pre-listing inspections are still rare in this market. In my experience working across the Denver metro, the vast majority of listings don’t come with one — and most sellers have never even heard the term. That means the agents who recommend them are doing something almost nobody else is doing.
Think about what that means for your seller. Every other listing in their price range is going to market the same way: standard photos, standard description, standard disclosure form that nobody trusts. Your listing shows up with a third-party inspection report on the counter, a list of repairs already completed with receipts, and a seller who can credibly say “we have nothing to hide.”
That’s a real differentiator in a market where buyers have options. It’s not a marketing gimmick — it’s a substantive signal that says this seller takes the transaction seriously. Agents who build a reputation for recommending pre-listing inspections become known for cleaner, faster, more reliable closes. Sellers refer them to other sellers. Buyer’s agents respect them more.
The strategy has been sitting in plain sight for years. It just hasn’t been adopted because of the disclosure fear I addressed earlier in this post — and that fear is largely misplaced.
How to position it to your seller
The conversation isn’t “you should pay to find more problems with your house.” It’s “you should pay to control the timeline and the narrative on what the buyer’s inspector is going to find anyway.”
Lines that work:
- “The buyer is going to inspect this house no matter what. The question is whether we see it first or get blindsided by it.”
- “If we find something, you have months to handle it your way. If they find it, you have 10 days to react under pressure.”
- “A clean report — or a report with proof of repairs — is the strongest marketing piece you can put in front of a buyer.”
Sellers in this market can afford it. A standard pre-listing inspection runs around $650 to $750 for a typical single-family home, closer to $1,050-$1,200 with sewer and radon added. On a Douglas County sale that’s typically $700,000 or more, that’s a small cost relative to what’s at stake — and trivial compared to a $14,000 inspection-driven price reduction or a deal that falls through entirely.
FAQ
How much does a pre-listing inspection cost in the Denver metro?
Same as a buyer’s inspection. Around $650 to $750 for a standard single-family home, more with add-ons like sewer scopes or radon testing. Pricing scales with square footage and age — the exact quote depends on the home.
Does the seller have to disclose what the inspection finds?
Yes. In Colorado, sellers must disclose known material defects on the Seller’s Property Disclosure form. A pre-listing inspection creates that knowledge. The trade-off is real — and it’s the right one, because the alternative is the buyer’s inspector finding the same issue under far worse conditions for the seller.
What if the buyer’s inspector finds different stuff anyway?
Sometimes happens. Different inspectors emphasize different things. But the major items — the deal-killers — are usually consistent. A pre-listing inspection catches the vast majority of what a buyer’s inspector will flag, which means the surprises shrink dramatically.
Will it actually save money on the deal?
In most cases, yes. Buyers who negotiate off inspection findings save an average of $14,000 nationally, per Porch data. Pre-listing removes that leverage and gives it back to the seller, who can price the issues in upfront or fix them at their own cost.
How long is a pre-listing inspection valid?
Not very long, honestly. A pre-listing report represents the condition of the home on the day of the inspection. The closer the listing date is to the inspection, the more credible the report. A 30 to 60 day window is realistic. After that, weather events, system failures, or other changes can make findings out of date, and any buyer worth their salt is going to want a fresh look. No buyer should assume an older report still reflects current conditions — and most will order their own inspection regardless of how recent the pre-listing one is.
Talk it through before your next listing
If you’ve got a listing coming up where a pre-listing inspection might make sense, call or text me directly at (720) 598-0111. I’ll walk through the specific situation — no pressure, no quote until you want one. Same-day reports, in-house services, and I work with listing agents across the Denver metro, Castle Rock, and southern Colorado.